• Add description, images, menus and links to your mega menu

  • A column with no settings can be used as a spacer

  • Link to your collections, sales and even external links

  • Add up to five columns

  • Add description, images, menus and links to your mega menu

  • A column with no settings can be used as a spacer

  • Link to your collections, sales and even external links

  • Add up to five columns

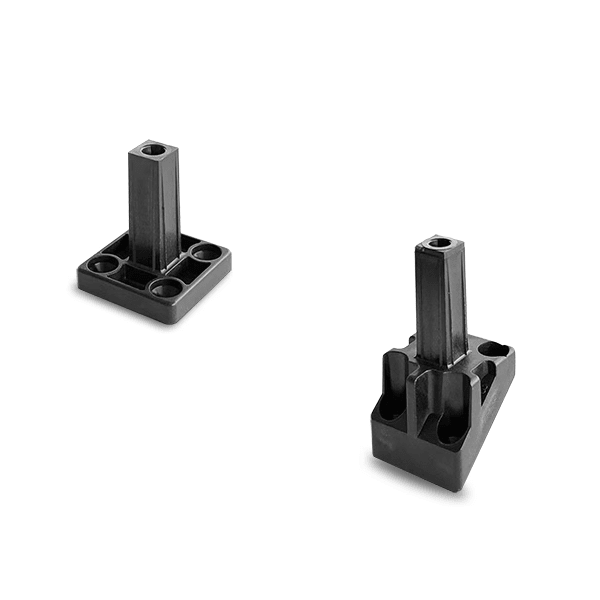
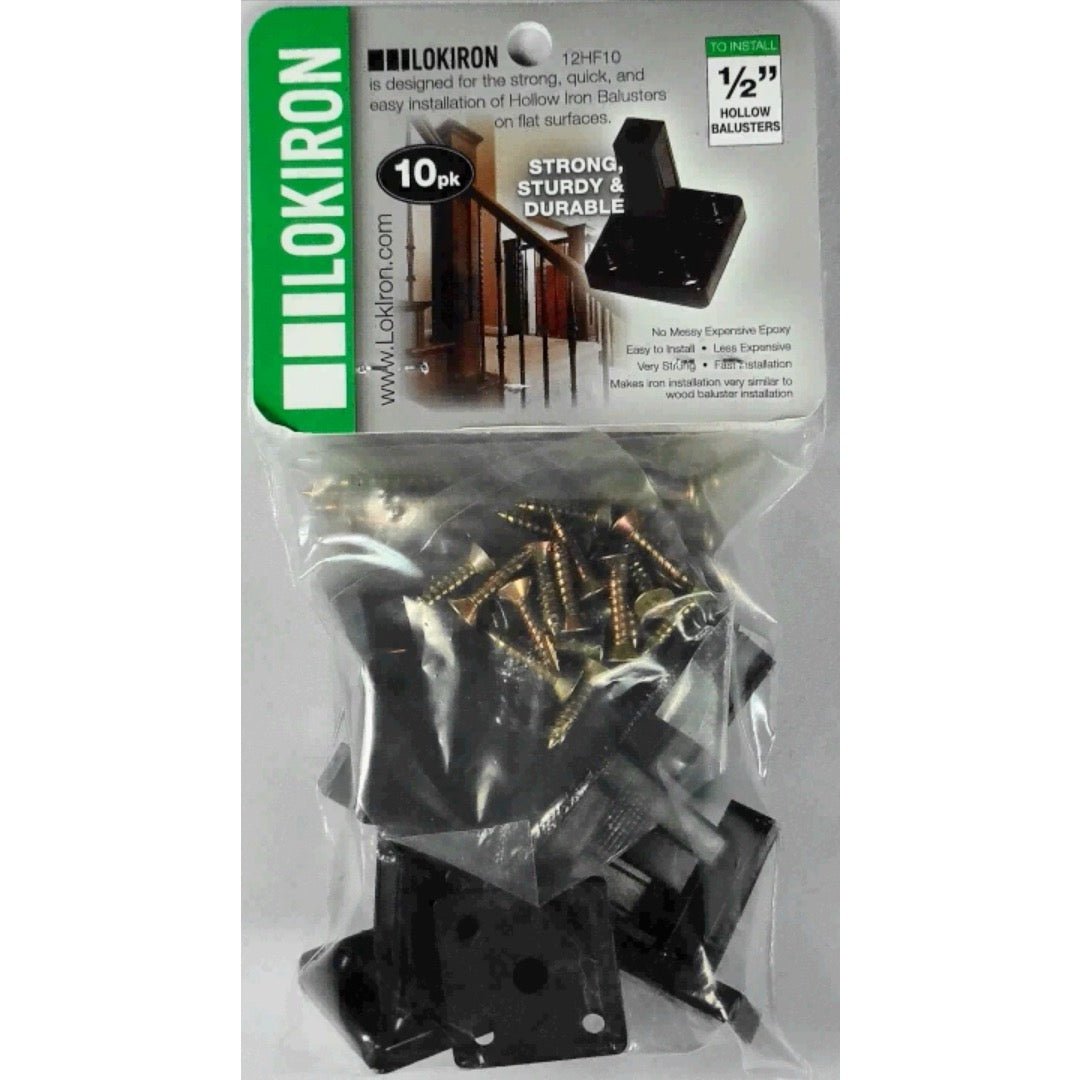
  • LokIron Anchor Posts for Hollow Iron Balusters - Pack of 10

    H1376-Flat

    Size
    Mount Type
    Quantity

    Baluster shoes and balusters are not included and are sold separately.

    Skip the epoxy on your next hollow iron baluster job. Each LokIron Anchor Post fastens to the tread with screws, the hollow baluster fits down over the post, and a standard aluminum base shoe covers the connection and is secured with its set screw. There is no glue to mix or clean up, no caulk-style gun required, and no oversized holes to bore into the tread.

    Each pack contains 10 anchor posts plus the LokIron self-drilling screws needed to install them.

    Installation Videos from LokIron

    The following installation videos and instructions are produced by LokIron, the manufacturer.

    New Construction Installation

    Video courtesy of LokIron.

    New Construction Installation Instructions

    Choosing a method

    • Option 1 (recommended): Install the balusters first, then the handrail, following the steps below.
    • Option 2: Install the handrail first and attach it to the newel posts, then install the balusters using the Remodel Installation Instructions.

    Flat surfaces (treads and balconies)

    1. Pass a long screw through the anchor post's center hole.
    2. Drive the anchor post into the wood at your baluster mark, keeping the base square to the baluster line.
    3. Install two short screws in diagonally opposite holes.
    4. Place a shoe over the anchor post.
    5. Lower a hollow baluster over the post and into the shoe, then tap the top of the baluster until it seats fully on the base.
    6. Tighten the baluster shoe onto the baluster. The baluster now stands on its own without support.
    7. Once all balusters are set, place the handrail on top and attach it to the newel posts.

    Knee walls (angled posts)

    The process is the same as a flat surface, but uses five screws: one long center screw and four short screws. Confirm the anchor post is square before installing all four short screws.

    Note: Long screws are not required for new construction but are preferred when the handrail is installed after the balusters. If the handrail goes in first, use the Remodel method.

    Instructions courtesy of LokIron.

    Remodel Installation

    Video courtesy of LokIron.

    Remodel Installation Instructions

    Use these steps to replace balusters while keeping your existing handrail in place. If you are replacing the handrail too, follow the New Construction instructions instead.

    Tools needed: lopping shears or a saw, pry tool, square, nail or awl, tape measure, wood block or mallet, drill with square-drive bits, and a 9/16" drill bit (Square Top balusters only).

    1. Remove the existing balusters. Cut each old baluster in two with lopping shears or a saw, then gently pry each section off the handrail and tread.
    2. Mark the anchor post position. If a 3/4" or 5/8" hole remains from the old baluster, center the anchor post over it. Use a square to keep the post square to the riser and mark 2 diagonal screw locations with a nail or awl (4 locations for knee wall posts).
    3. Cut the baluster to length. Measure from the tread to the bottom of the handrail and cut the baluster about 5/8" longer. Measure and cut each baluster individually – don't cut them all at once.
    4. Slide an aluminum shoe onto the baluster with its top facing the top of the baluster.
    5. Insert the anchor post into the bottom of the baluster. If it isn't snug, tap it in with a wood block or mallet.
    6. Position the assembly. Insert the top of the baluster into the handrail hole, then pivot the bottom over the tread into position. Pin Top balusters use the existing hole; Square Top balusters need a 9/16" hole drilled in the handrail.
    7. Fasten the anchor post to the tread with the supplied screws – 2 screws in opposite corners for flat installs, or 4 screws (one per corner) for knee wall/angled installs.
    8. Install the shoe. Drop the shoe over the anchor post and tighten the set screw. Repeat steps 3–8 for each baluster.

    Note: Long screws are only needed when the handrail is installed after the balusters.

    Instructions courtesy of LokIron.

    Available Sizes

    • 1/2" (12mm) – for balusters with a 1/2" hollow profile
    • 5/8" (9/16" / 14mm compatible) – for balusters with a 5/8" hollow profile
    • 3/4" (19mm) – for balusters with a 3/4" hollow profile

    Flat or Angled?

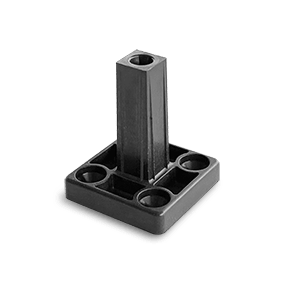
    • Flat – choose this for level mounting surfaces such as treads and balcony floors. Secure each post with a long screw through the center and two short screws in diagonally opposite holes.
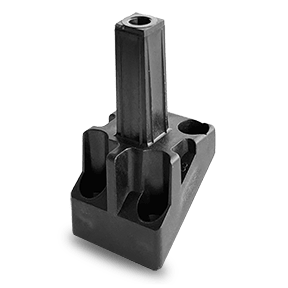
    • Angled – choose this for sloped knee walls (pony walls). Each post is secured with four short screws, with a long center screw added when balusters are set before the handrail. The post gives a little, so it can adapt when your stair pitch is slightly different from the post's built-in angle.

    Why Installers Like It

    • Saves time and mess compared with epoxy – no hazardous adhesive to handle, no dust from sanding cured epoxy, and no drips staining the treads
    • Manufacturer testing put more than 400 lbs of force on the bottom of the baluster; the iron baluster gave out first while the anchor post held
    • Once seated, balusters are self-supporting, so the handrail can go on last
    • Only basic tools needed – a drill and square-drive bits
    • Suited to both new stairs and remodels where the existing handrail stays in place

    Compatibility & Requirements

    • Designed only for hollow iron balusters used with aluminum / light-weight base shoes; most cast iron shoes will not work
    • Install with the supplied LokIron screws only – the holes in the post are made to match them
    • Holds in hardwood treads: red oak and maple accept the screws directly, while extra-hard woods such as Brazilian Cherry or Ipe may need a pilot hole. Pine holds well, but hardwood is stronger. MDF is the weak link rather than the post, so check with a building professional before using it.

    Installation Overview

    1. Position the anchor post on your baluster mark, line up its base square with the baluster run, and fasten it in place.
    2. Put the aluminum shoe on the baluster, then lower the baluster onto the post until it rests completely on the base.
    3. Slide the shoe down to cover the post and lock it with the set screw.

    Customer Reviews

    Be the first to write a review
    0%
    (0)
    0%
    (0)
    0%
    (0)
    0%
    (0)
    0%
    (0)